Garbage disposal humming, jammed, leaking or dead — what each symptom means
A garbage disposal has four ways of going wrong and each one sounds different. The hum, the silence, the leak and the backup point at completely different problems — and three of the four are genuinely worth trying yourself before anyone charges you a call-out fee.
Before anything: the safety rule
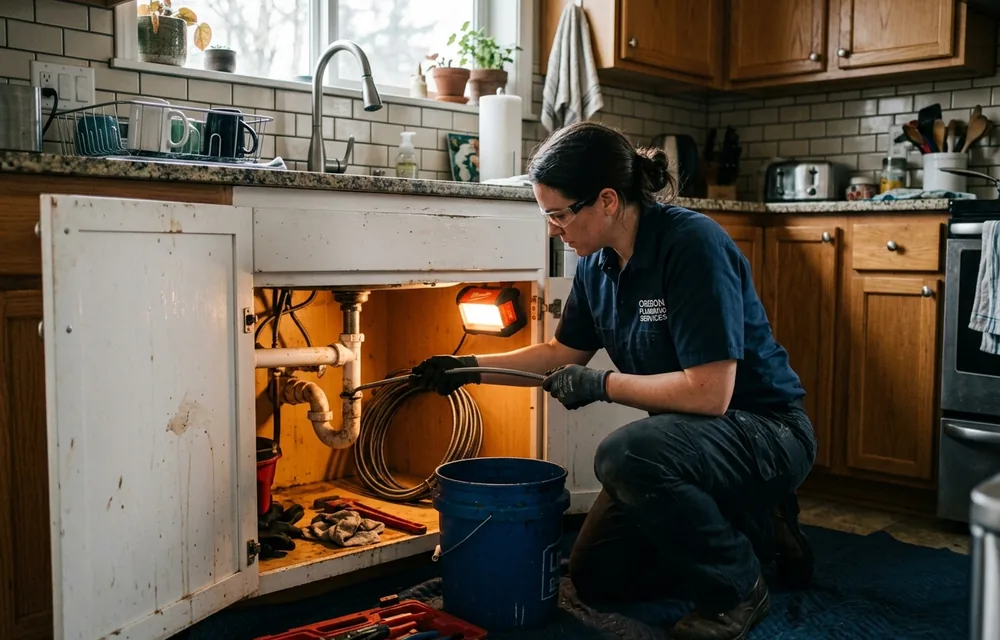
Never put your hand into a disposal. Not with the switch off, not with the power off, not "just to feel". It is the single most common serious plumbing-adjacent injury in a home, and every fix below is designed so you do not have to.
Before working on a disposal, switch off the breaker that serves it, not just the wall switch. Many disposals are plugged into a receptacle inside the cabinet — unplug it if so. A wall switch can be bumped; a pulled plug cannot.
Use tongs, pliers or a flashlight and a wooden spoon handle to investigate the chamber. The grinding components are not blades in the way people imagine — they are blunt impellers that fling waste against a fixed grind ring — but they are driven by a motor that produces meaningful torque and they have sharp edges from wear.
Everything in this guide assumes the power is off before your hands are anywhere near the unit.
Symptom 1: it hums but does not turn
This is the most common disposal fault and the easiest to fix. The hum means the motor is energised and trying to turn, and something is preventing it. The motor is drawing locked-rotor current while it hums, so switch it off within a few seconds — leaving it humming is how a repairable jam becomes a burnt-out motor.
The fix takes five minutes.
Cut power at the breaker. Look under the sink at the bottom centre of the disposal for a hexagonal socket — most units have one, and most ship with a small offset hex wrench that is usually clipped to the unit or lost in the back of the cabinet. A quarter-inch hex key from any tool set fits. Insert it and work it back and forth, both directions, until the mechanism turns freely through a full rotation.
If your unit has no hex socket, the same job is done from above: insert a broom handle or a stout wooden spoon into the chamber, brace it against one of the impellers, and lever it around. Power off, obviously.
Then look inside with a flashlight and remove whatever caused it — with tongs. The usual offenders are a bottle cap, a twist tie, a fruit sticker glued into the grind ring, a chunk of bone, a piece of cutlery, or fibrous vegetable matter wrapped around the impeller.
Restore power, press the red reset button on the underside of the unit, run cold water, and switch on. It should run normally. If it hums again immediately, there is still something in there.
Symptom 2: it does nothing at all
Press the reset button
A small red or black button on the underside of the disposal. It is a thermal overload that trips when the motor overheats, which usually happens after a jam or after grinding something too hard. It pops out when tripped; press it firmly back in. This resolves the majority of dead disposals and costs nothing.
Check the breaker and the outlet
Look for a tripped breaker in the panel. If the unit is plugged in under the sink, test the outlet with something else — a phone charger will do. On many kitchen installations that receptacle is on a GFCI, and the GFCI may be a different device elsewhere on the counter with its own reset button.
Check the wall switch
Switch failures are unglamorous but real, particularly on an air-switch button mounted in the countertop. Air switches use a small bellows and a length of tubing to a control box; the tubing can crack or pull loose, and the button then does nothing at all.
Listen carefully with the switch on
A faint hum means it has power and is jammed — go back to symptom one. Complete silence with a confirmed live circuit and a pressed reset means the motor or the internal switch has failed.
Decide whether to replace
A dead motor is not economically repairable. A basic replacement unit is $90 to $200 at retail, and typically $200 to $450 installed including the unit. If the disposal is more than about eight years old and the motor is gone, replace rather than repair.
Symptom 3: it leaks — and where from decides everything
Dry everything with a towel, put a sheet of paper or newspaper underneath, run the water, and find the origin precisely. There are four places a disposal leaks and they are not equally serious.
From the sink flange at the top. The most common leak. The plumber's putty seal between the sink drain flange and the sink has dried out and shrunk, or the mounting ring has loosened. Fix: loosen the mounting assembly, drop the unit, remove the old putty, roll a fresh rope of plumber's putty under the flange, reseat and retighten. An hour, a few dollars of putty, and no parts. This is a very reasonable DIY job.
From the dishwasher inlet hose connection. The small hose entering the side of the disposal near the top. Usually just a loose or perished hose clamp. Tighten it, or replace a $2 clamp.
From the discharge pipe on the side. The larger outlet to the trap. Almost always a failed rubber gasket or a slip-nut washer at the discharge elbow, or bolts that have loosened. Both are inexpensive parts and a straightforward replacement.
From the bottom of the unit itself, at the seam or the motor housing. This is the one that ends the conversation. The internal seals have failed and water is inside the motor. There is no repair. Replace the disposal, and do it promptly — water in a motor housing is an electrical hazard as well as a leak.
A quick test that saves guessing: plug the sink, fill it, and watch. If it leaks with the sink full and no water running, it is the flange or the body. Then drain it and watch as the water runs out — a leak that only appears during discharge is the outlet side.
Symptom 4: it runs but the sink backs up
If the motor sounds normal and water still sits in the sink, the disposal is doing its job and the drain beyond it is not. The disposal is a red herring; you have a kitchen drain clog.
That distinction matters because the response is different. Do not keep running the disposal into standing water. It grinds solids into finer particles, and finer particles bind more readily into the grease coating that is almost certainly the actual problem.
Kitchen lines block because of grease. It goes down warm and liquid, meets a cold pipe, and congeals onto the wall as a coating rather than a plug. The line narrows progressively over months, and food particles from the disposal bind into that coating and accelerate it. This is why kitchen drains clog repeatedly and bathroom drains usually do not, and it is why our grease and kitchen drains guide is the most useful thing to read after this one.
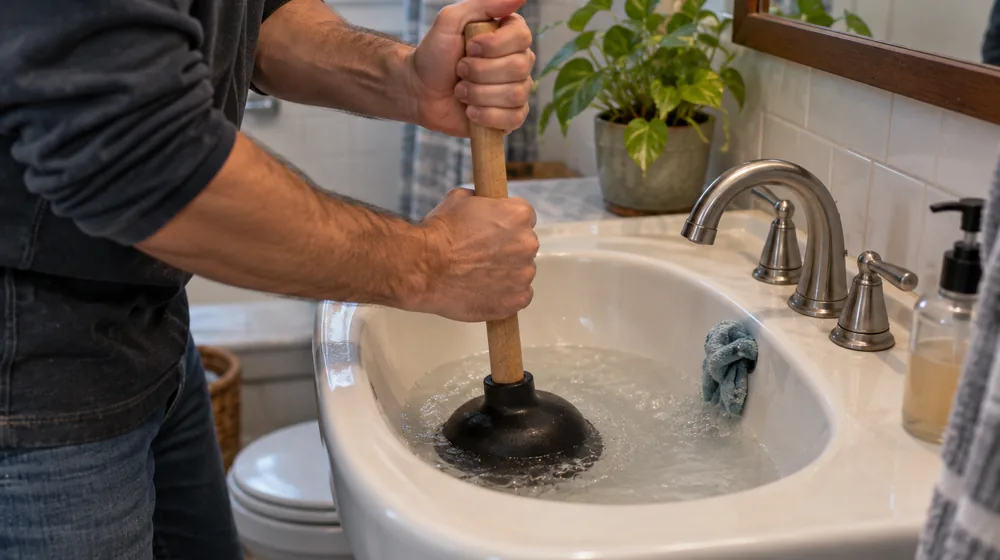
What to try: clear the standing water, then plunge with a cup plunger — sealing the second bowl of a double sink with a wet cloth, or the drain plug of that side, because otherwise all your pressure goes sideways. If that fails, put a bucket under the trap and clean the P-trap out by hand; on a kitchen sink that is often where the mass sits.
What not to try: chemical drain cleaner. On a fully blocked line it never reaches the obstruction, it sits in the standing water generating heat, and it is what comes out at whoever eventually opens the trap. It is also completely ineffective against congealed grease, which is what you have.
If the clog returns within a few weeks, cabling will not fix it either — a cable bores a channel through a coating and leaves the coating in place. That is the case for hydro jetting, which scours the pipe wall back to bare material.
What actually kills disposals, and what to feed them
| Never put in | Why | Fine in moderation |
|---|---|---|
| Grease, oil, fat | Congeals downstream and coats the line — the number one cause of kitchen drain failure | Small residue rinsed with cold water |
| Coffee grounds | Fine sediment that packs into a dense sludge in the trap | Occasional trace amounts |
| Eggshells | Membrane wraps the impellers; shell grinds into sand-like grit | Nothing gained by putting them in |
| Pasta, rice, oats | Swell with water and form a paste in the trap | Small amounts with heavy cold water |
| Celery, corn husks, artichoke, onion skins | Long fibres wrap the impeller and jam it | Cut very short, small quantities |
| Bones, fruit pits | Hard enough to jam or damage the grind ring | No |
| Potato peels | Starch turns to glue | Very small quantities |
| Anything non-food | Bottle caps, twist ties, cutlery, fruit stickers | No |
And the rule that matters most: run cold water, not hot. Cold keeps fats solid so the disposal can chop them and flush them through as particles. Hot water melts fat, which then travels a few feet down a cold pipe and congeals onto the wall — which is precisely the coating that causes recurring kitchen clogs. Run the cold tap for fifteen to twenty seconds after the grinding noise stops, to carry the debris well past the trap.
For maintenance, skip the commercial cleaning pods. A tray of ice cubes with a cup of coarse salt, ground with cold water running, scours the chamber. Half a lemon afterwards handles the smell. Both cost nothing.
Repair, replace, or remove entirely
Repair if it is a jam, a tripped reset, a flange seal, a hose clamp or a discharge gasket. All of these are cheap, and most are DIY.
Replace if the motor is dead, if it leaks from the body, or if it is over about ten years old and giving trouble. A mid-range unit installed runs $200 to $450 including the disposal. Two things worth paying a little more for: a stainless grind chamber rather than galvanised, which does not corrode, and at least three-quarter horsepower, which jams far less often than a half-horsepower budget unit. Sound insulation is a genuine quality-of-life difference in an open-plan kitchen.
Consider removing it entirely if you are on a septic system, if the kitchen line has a history of blockages, or if you compost. A disposal adds a continuous load of fine organic solids to a system that has to digest them, and on marginal septic systems it measurably shortens the interval between pump-outs. Removing one and fitting a standard basket strainer and trap is a modest job and eliminates a whole category of problem.
One thing to check whenever a disposal is replaced on a new dishwasher installation: the knockout plug. New disposals ship with the dishwasher inlet blanked off internally, and if the plug is not punched out before the dishwasher hose is connected, the dishwasher cannot drain and will back up into the machine. It is the single most common installation mistake with disposals and it is thirty seconds of work with a screwdriver and a hammer.
When it is not the disposal at all
Some symptoms that look like a disposal fault are telling you about the drain system behind it.
- Both sides of a double sink back up, and the other side has no disposal. The blockage is in the shared branch line, not the unit.
- Water backs up into the dishwasher. Usually the knockout plug above, or a blocked line downstream of the disposal, or a missing high loop in the dishwasher drain hose.
- The sink gurgles when the disposal runs, or another fixture gurgles. Air is being pulled through a water seal, which points at a vent problem or a partial main line blockage. Our gurgling guide covers what that means.
- The kitchen clogs every few months no matter what you do. The line is coated rather than blocked. Cabling relieves it temporarily; jetting removes the cause.
- More than one fixture in the house is slow. That is a main line problem and nothing at the kitchen sink will help.
If you have tried the reset, cleared the jam, and the kitchen still will not drain, our clog symptom diagnostic will tell you in about a minute whether you are dealing with a fixture problem or something further down — which is the fact that changes the job by a factor of three.
Frequently asked questions
Why is my garbage disposal humming but not spinning?
The motor has power and something is physically blocking the impellers. Switch it off within a few seconds — leaving it humming draws locked-rotor current and burns out the motor. Cut power at the breaker, then free the mechanism with a quarter-inch hex key in the socket on the underside of the unit, working it both directions. Remove whatever caused it with tongs, press the red reset button, and it will usually run normally.
Where is the reset button on a garbage disposal?
On the underside of the unit, usually a small red button near the centre, occasionally black. It is a thermal overload that pops out when the motor overheats. Reach under the sink, feel for the protruding button, and press it firmly until it clicks in. If it trips again within minutes, something is still jamming the mechanism or the motor is failing.
Is a leaking garbage disposal worth fixing?
It depends entirely on where it leaks. From the sink flange at the top, the dishwasher hose, or the discharge elbow — yes, all are cheap seals or clamps and worth fixing. From the bottom of the unit or the motor housing seam, no: the internal seals have failed, there is no repair, and water inside a motor housing is an electrical hazard as well as a leak. Replace it.
Should I run hot or cold water with a garbage disposal?
Cold, always, and keep it running for fifteen to twenty seconds after the grinding stops. Cold water keeps fats solid so they are chopped and carried through as particles. Hot water melts fat, which then travels a short distance down a cold pipe and congeals on the wall — building exactly the coating that causes recurring kitchen drain clogs.
Can a garbage disposal cause a clogged drain?
Indirectly, yes. A disposal does nothing to grease, and the fine particles it produces bind readily into an existing grease coating on the pipe wall. Kitchen lines are the most clog-prone in the house for exactly this reason. A disposal used alongside cold water and no grease down the drain is not a problem; a disposal used as a rubbish bin on a line that has been collecting fat for a decade is why kitchen drains fail.
Services mentioned in this guide
Drain Cleaning
A single slow sink is a nuisance.

Hydro Jetting
A cable bores a hole through the clog.
24/7 Emergency Drain & Sewer Service
If sewage is entering your home right now, stop reading and call.
More guides
How to Unclog a Drain Yourself (and When to Stop)
Most single-fixture clogs are genuinely a DIY job. Here is what works, in the order a plumber would try it — and the p…
Sewer Backup: What to Do in the First Ten Minutes
A main line backup gets measurably worse with every gallon of water the household uses. What you do in the first ten m…
Winterizing Plumbing in Oregon: A Regional Checklist
Generic winterizing advice is written for the Midwest and it is either overkill or dangerously inadequate depending on…